- +919873046480
- services@acartcentre.in
- Shop No. 26, DDA Shopping Complex, Pandav Nagar, Shadipur, Patel Nagar, Delhi

The Ultimate Guide to AC Unit Installation: A Step-by-Step Tutorial
As the sweltering heat of summer approaches, ensuring your home is equipped with a properly functioning air conditioning (AC) unit becomes paramount. Whether you’re replacing an old unit or installing one for the first time, this comprehensive guide will walk you through the AC unit installation process step by step. By the end of this tutorial, you’ll have a cool, comfortable home to retreat to during those scorching summer days.
Introduction
Installing an AC unit might seem like a daunting task, but with the right guidance and a bit of patience, you can do it yourself and save on installation costs. Before you begin, gather all the necessary tools and materials, and don’t hesitate to seek professional help if you’re uncomfortable with any part of the process.
1. Choose the Right AC Unit
Before diving into the installation process, it’s crucial to select the appropriate AC unit for your space. Factors to consider include the size of the area you want to cool, energy efficiency, and the type of unit (central AC, ductless mini-split, window unit, etc.). Conduct thorough research or consult with an HVAC specialist to make an informed choice.
2. Gather the Tools and Materials
To successfully install your AC unit, you’ll need the following tools and materials:
Screwdrivers
Adjustable wrench
Tape measure
Level
Electric drill
Mounting brackets (if applicable)
Insulation material
Sealing caulk
Copper refrigerant lines (for central AC)
Electrical wiring and conduit
Safety goggles and gloves
3. Prepare for Installation
Ensure that the installation location is clean and unobstructed, and provides proper support for the unit. Measure the dimensions of the unit to confirm it fits the space, and double-check that you have access to an electrical outlet and the necessary wiring.
4. Install the Brackets or Mounting Plate
Depending on the type of AC unit you have, you may need to install mounting brackets or a mounting plate. Follow the manufacturer’s instructions carefully, ensuring that they are level and securely anchored to the wall.
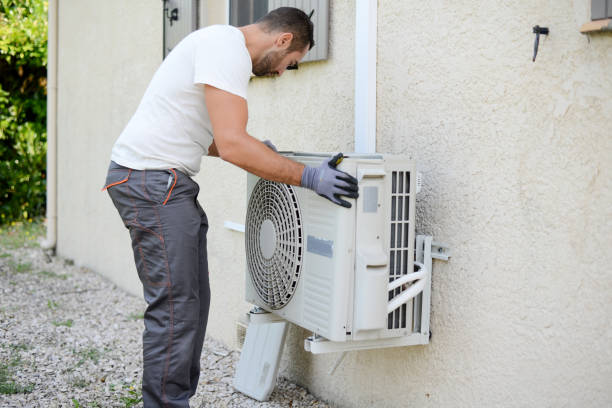
Securely Mount the AC Unit
With the brackets or mounting plate in place, carefully lift and secure the AC unit onto them. Make sure it’s level and properly aligned. If you’re installing a window unit, follow the specific instructions provided with the unit.
Connect the Refrigerant Lines (for Central AC)
For central AC units, connect the copper refrigerant lines to the condenser unit outside your home. Be sure to follow safety guidelines and wear protective gear during this step. If you’re uncertain, it’s wise to consult a professional technician.
Electrical Wiring
The electrical wiring should be connected to local electrical codes and manufacturer recommendations. Ensure the power is off before making any connections, and consider hiring an electrician if you’re not comfortable with electrical work.
Seal Any Gaps
Use sealing caulk to seal any gaps around the AC unit. This helps prevent air leakage and ensures efficient cooling.
Frequently Asked Questions (FAQ)
Q1: Can I set up a window air conditioner on my own?
A1: Yes, window AC units are typically designed for DIY installation. Just follow the manufacturer’s instructions carefully.
Q2: Is it necessary to hire a professional for central AC installation?
A2: While it’s possible to install central AC yourself, it can be a complex task. It is advised to hire a professional to ensure security and peak performance.
Q3: How often should I clean and maintain my AC unit?
A3: Regularly clean or replace filters, check for refrigerant leaks, and schedule annual maintenance with a qualified technician.
Conclusion
By following this step-by-step guide, you can confidently install your AC unit and enjoy a cool and comfortable living space during the hottest months of the year. Remember to prioritize safety, and don’t hesitate to seek professional assistance when needed. Once your AC unit is up and running, you’ll be well-prepared for the summer heat.
